Anaconda
What is Anaconda ?
Anaconda is a python and R distribution. It aims to provide everything you need (python wise) for data science "out of the box". It includes:
- The core python language
- 100+ python "packages" (libraries)
- including scientific packages :
NumPy, SciPy , matplotlib, pandas, IPython, Jupyter Notebook, scikit-learn - Spyder (IDE/editor - like pycharm) and Jupyter
- conda - Anaconda's own package manager, used for updating Anaconda and packages
In the subsequent posts, you will see each one of the above mentioned scientific packages explained in great detail with extensive usage throught the ML course.
Installation details
Step 1: Install Anaconda (Python 3.6 version)
Download Link - https://www.anaconda.com/download/
Step 2: Verify the conda installation
Open Anaconda Command Prompt
- For Windows,
Start > Anaconda3 > Anaconda Prompt - For Mac & Linux, open
Terminalwindow
To Verify the installation, type
conda --version

To update conda, type
conda update conda
TIP: It's recommend that you always keep conda updated to the latest version.
Step 3: Create a vitual environment (Optional)
Conda allows you to to create separate environments containing files, packages and their dependencies that will not interact with other environments.
When you begin using conda, you already have a default environment named base. You don’t want to put programs into your base environment, though. Create separate environments to keep your programs isolated from each other.
To find the list of current environments, type
conda info --envs

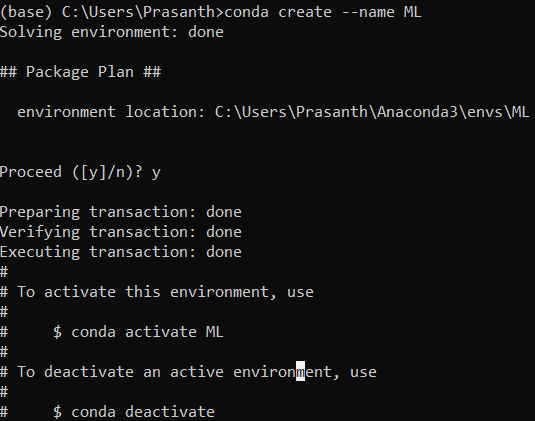
To create an environment named ML, type
conda create --name ML
To activate the ML environment, type
- Windows:
activate ML - Mac & Linux:
source activate ML

The activated environment is also displayed in front of the prompt in paranthesis or brackets as show above.
To deactivate the ML environment, type
- Windows:
deactivate - Mac & Linux:
source deactivate ML
Step 4: Different programming IDEs
- Command Prompt or Terminal
- Sypder
- Jupter Notebook
- Other Notepads / text editors
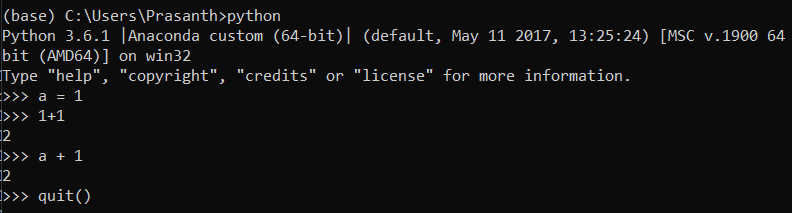
Step 4.1: Command Prompt or Terminal
Type python in the command window. It will show the current version of python and a prompt
>>> where the python code goes
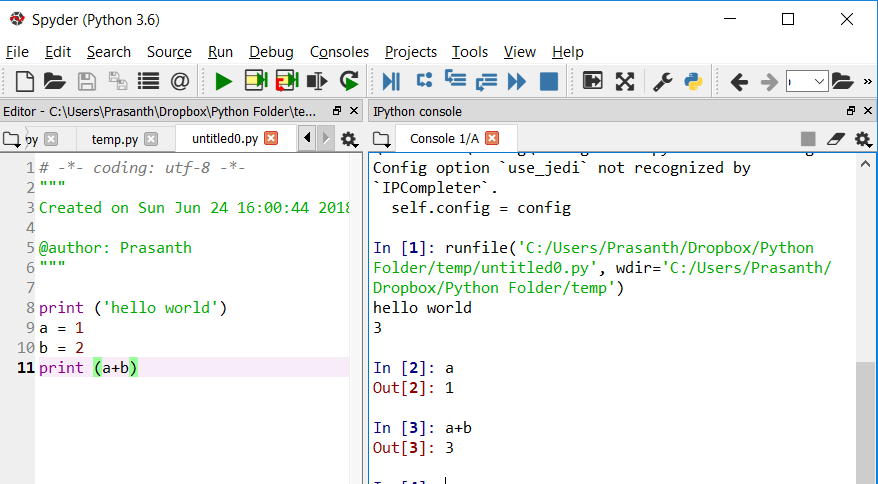
Step 4.2: Sypder
Type spyder in the command window.
The command will launch the spyder IDE environment. It has some cool features such as Ipython console which you can explore on your own.
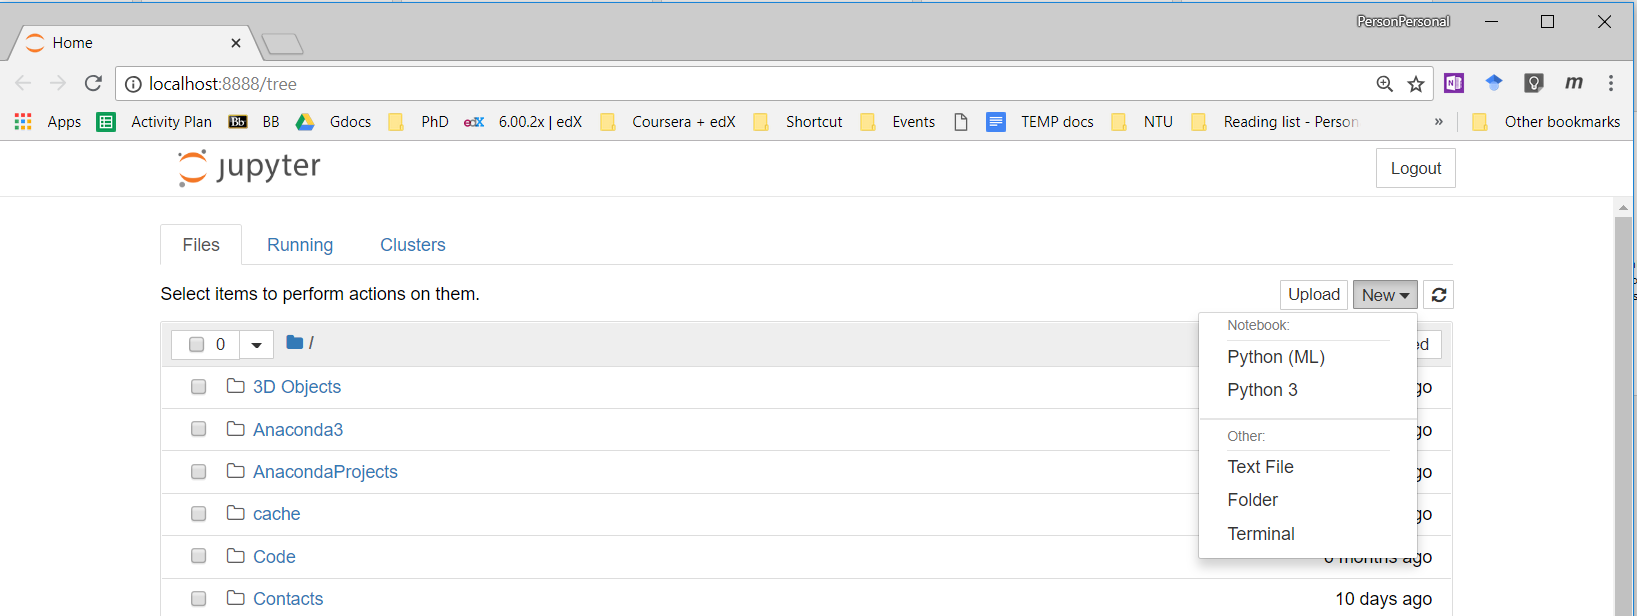
Step 4.3: Jupyter Notebook
Type jupyter-notebook in the command window.
The command will launch the jupyter-notebook in default web browser. It has some cool features and we will be using it as our main development environment.